
Written by the Al Jory Marble team, fabricators and installers based in Crestwood, Illinois.
You pick a slab at the yard. Two weeks later a crew shows up and installs finished countertops. The part in between happens in a shop most homeowners never see, and it involves considerably more decision making than people assume.
Here is what happens to your stone in that window.
Step one: layout, which is where the thinking happens
Your slab arrives in the shop alongside the digital file from your template. The first job is not cutting. It is deciding where each piece of your kitchen will come from on that slab.
This is a puzzle with several constraints at once. Every piece has to fit. The veining should run in a sensible direction across the finished kitchen. Seams need to land where we planned them. And we want to use the slab efficiently, because waste is cost.
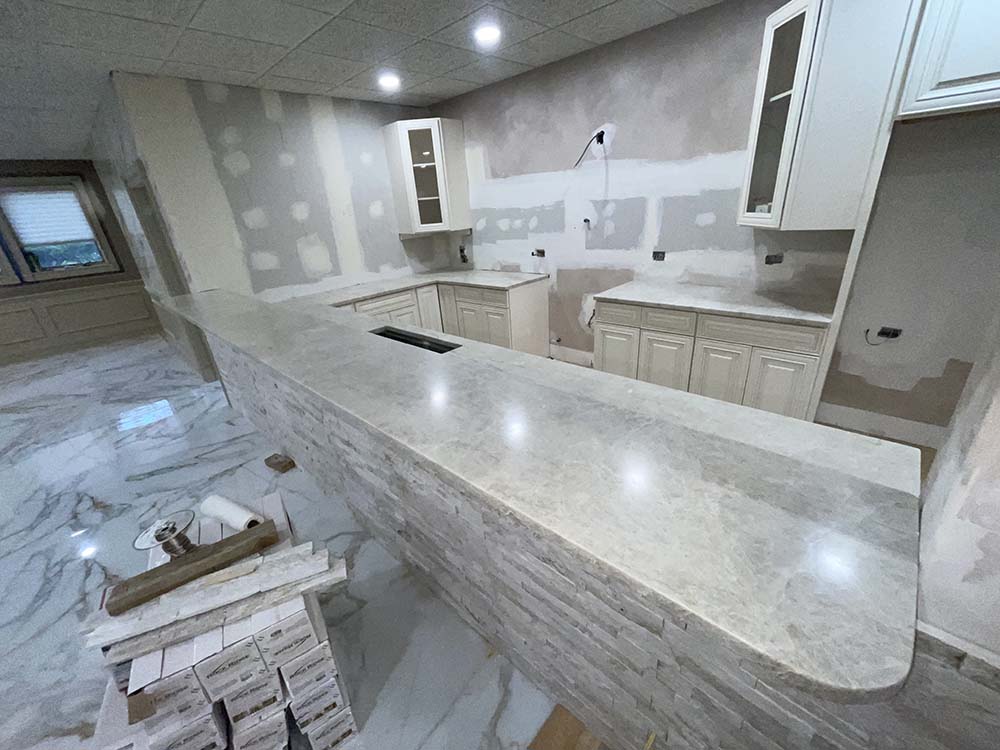
On a quiet, uniform material this is mostly a yield problem. On a heavily veined quartzite or marble it becomes a design problem. The most dramatic section of veining should land somewhere it will be seen, typically the island, rather than getting buried under a run of upper cabinets or cut into by a sink.
We lay this out digitally over a photograph of your actual slab, so pieces get positioned against the real pattern rather than a generic outline. If you want to see where your island is coming from before we cut, ask. It is a reasonable request and we are happy to show you.
Step two: cutting
The layout file drives the saw. Depending on the material and the cut, this is a bridge saw with a diamond blade or a waterjet, and often a combination of the two on the same piece.
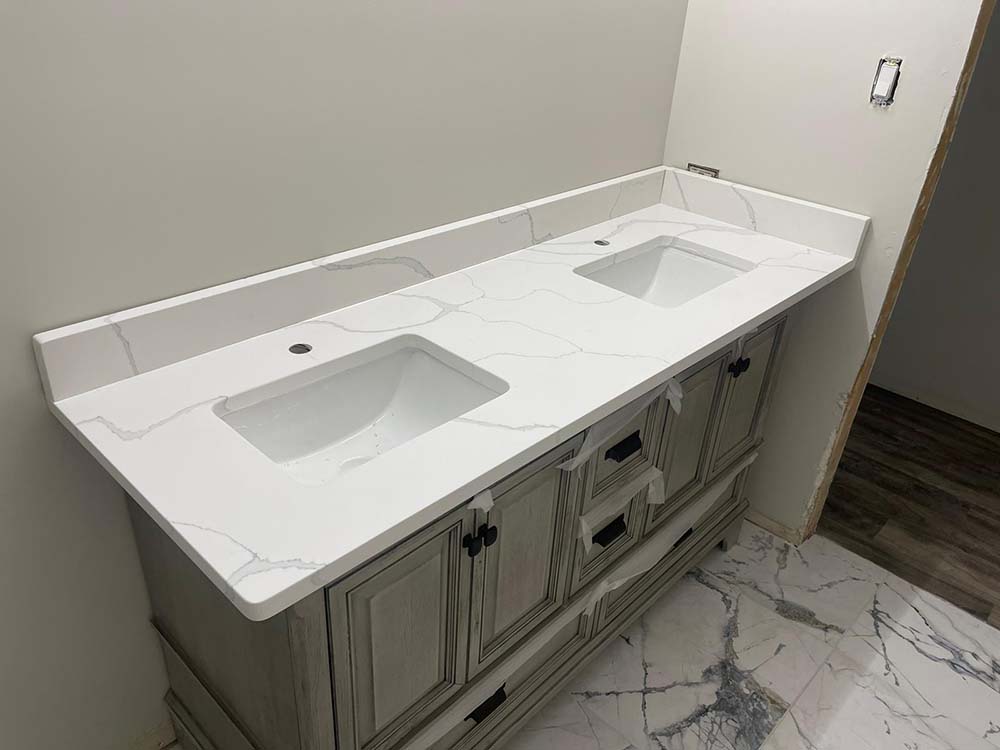
Straight cuts are straightforward. The interesting work is in the cutouts. A sink opening has to match your specific sink model, not a generic size. A cooktop cutout has to match the appliance spec sheet exactly. Inside corners get a radius rather than a sharp point, because a sharp inside corner in stone is a stress concentration and stress concentrations are where cracks start.
This is one reason we ask for your actual sink and appliance models at the template. Two ranges of the same width from different manufacturers can need different openings, and finding that out during installation is not a good day for anybody.
Step three: the edge
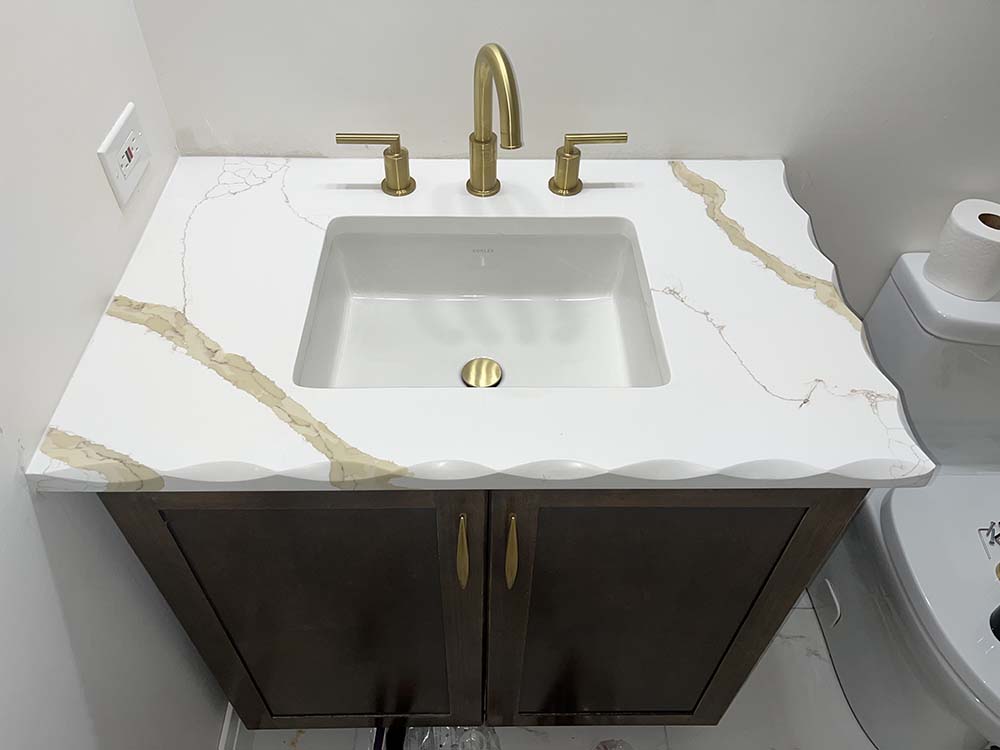
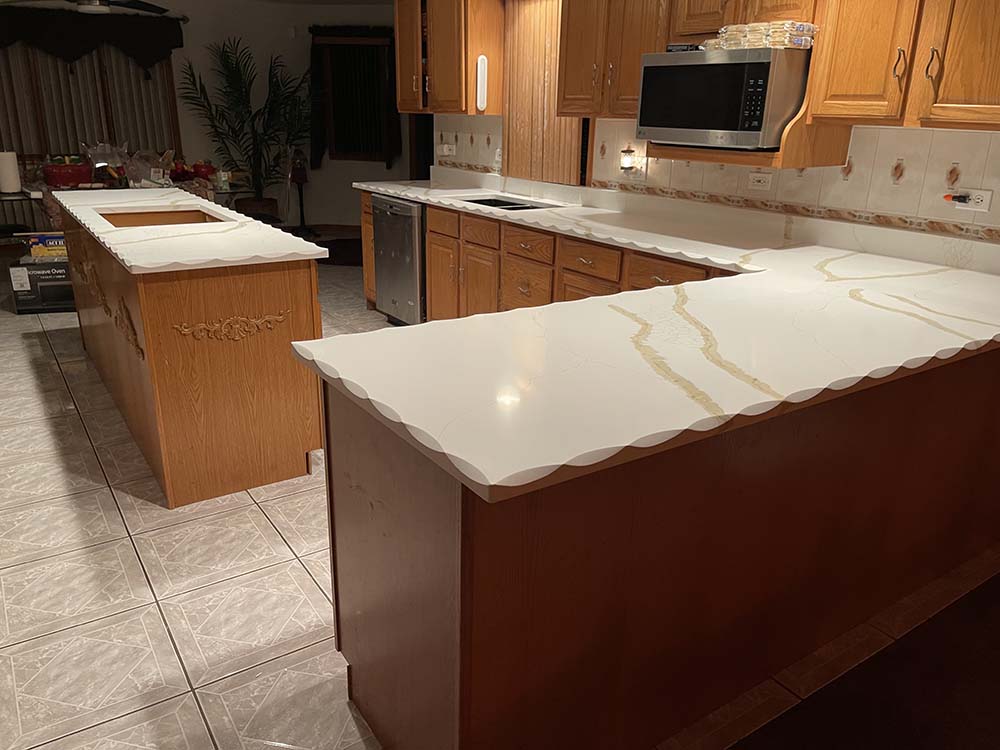
The edge profile is shaped after the piece is cut to size. An eased edge, which is a slight softening of a square corner, is the most common and reads as clean and modern. A bullnose is fully rounded. An ogee is a traditional S curve. A mitered edge creates the appearance of a much thicker slab by joining two pieces at a forty five degree angle.
That last one deserves a note. A mitered edge on a waterfall island means the grain has to line up at the corner so the veining appears to fold over the edge continuously. Getting that right is exacting work, and it is done in the shop where we can dry fit and adjust, not on site.
Edge profiles are shaped and then polished to match the surface finish of the slab, which is its own step and a meaningful part of the labor in any custom fabrication job.
Step four: polishing and finishing
Every cut face and every edge gets worked through progressively finer abrasives until it matches the factory finish on the top surface. Skipping stages here is where cheap fabrication shows. An edge that has been rushed looks slightly cloudy next to the polished top, and once you notice it you cannot stop noticing it.
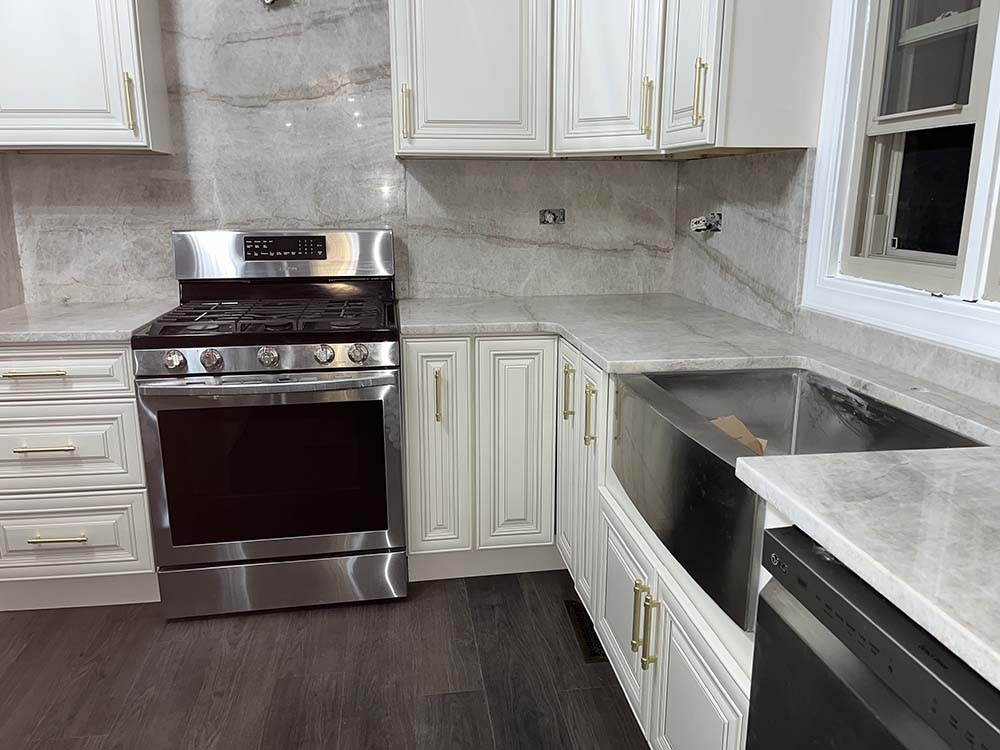
Cutout edges get the same treatment, particularly on an undermount sink where the exposed stone edge is visible and gets touched constantly. On a farmhouse sink installation the exposed edge is even more prominent, so it gets extra attention.
Natural stone that needs it gets sealed at this stage. Granite and marble are porous to varying degrees and benefit from a penetrating sealer. Engineered quartz is nonporous and does not need sealing at all, which is one of its main practical advantages.
Step five: dry fit
Before anything leaves the shop, the pieces get assembled on the shop floor. Seams get closed, mitered corners get checked for alignment, and the whole assembly gets looked at as a unit.
This is the step that separates a smooth installation from a difficult one. Every adjustment made in the shop is easy. The same adjustment made in your kitchen, with the water shut off and the cabinets already scratched by a tool, is not. We would rather find a problem here.
On a book matched island or a waterfall end, the dry fit is essential rather than optional. The grain either lines up or it does not, and we want to know in a building with the right tools.
What slows a job down in the shop
Homeowners often assume fabrication time is a queue problem, that your slab is waiting its turn behind other people. Sometimes it is. More often the delay comes from something specific to your job.
- The sink or appliance model was not confirmed, so the cutout cannot be finalized.
- The layout needs a decision from you or your designer about where a feature in the veining should land.
- A mitered or waterfall detail needs extra dry fitting and adjustment before it is right.
- The template revealed a wall condition that changes how a piece has to be cut.
- The slab needs backing or reinforcement in a weak area, which is common with some natural stone and adds a step.
The last one deserves explaining. Natural stone sometimes contains fissures, which are natural separations in the material. These are not cracks and they are not defects, but a piece cut through one may need reinforcement on the underside before it can be safely handled and installed. We would rather add that step than deliver something fragile.
Step six: loading and delivery
Finished pieces are loaded onto A frames for transport. Stone travels standing on edge because that is the orientation it is strongest in. Laid flat and unsupported, a long piece will crack under its own weight over a bump.
Delivery planning was decided back at the template, when we measured the doorways, hallways, stairwells, and landings. If your kitchen is on the second floor of a Chicago two flat or in a building with a freight elevator and a reservation window, that shaped how the pieces were cut. We wrote more about that side of the job in getting a slab into a difficult building.
Step seven: installation day
On most residential kitchens the installation is a single day. Old tops come out, the cabinet run gets checked for level, the new pieces are set and shimmed where needed, seams are joined and color matched, and the sink and faucet are fitted.
The plumbing reconnection typically happens the same day or the next, depending on the adhesive and the sink type. We will tell you which before we start rather than after.
Why any of this matters to you
You are not buying a product off a shelf. You are buying about a dozen decisions made by people you will probably never meet, on a piece of stone you picked out weeks earlier.
That is the argument for working with the fabricator directly rather than through a company that sells countertops and subcontracts the actual work. When the shop, the layout, and the installation crew are the same company, the reasoning behind each decision stays with the job. When they are not, it gets written down and passed along, and things get lost.
We fabricate everything in our own shop in Crestwood and install with our own crew, for kitchens from Orland Park and Joliet out to Aurora and Naperville. Come see the yard, pick a slab, and ask to see where your island is going to come from. Call (708) 362-7674 or start at Al Jory Marble.





Serving Chicago & Surrounding Areas
Get Your Free Kitchen Countertop Estimate
Fill out the form and our team will get back to you in next 24 hours.